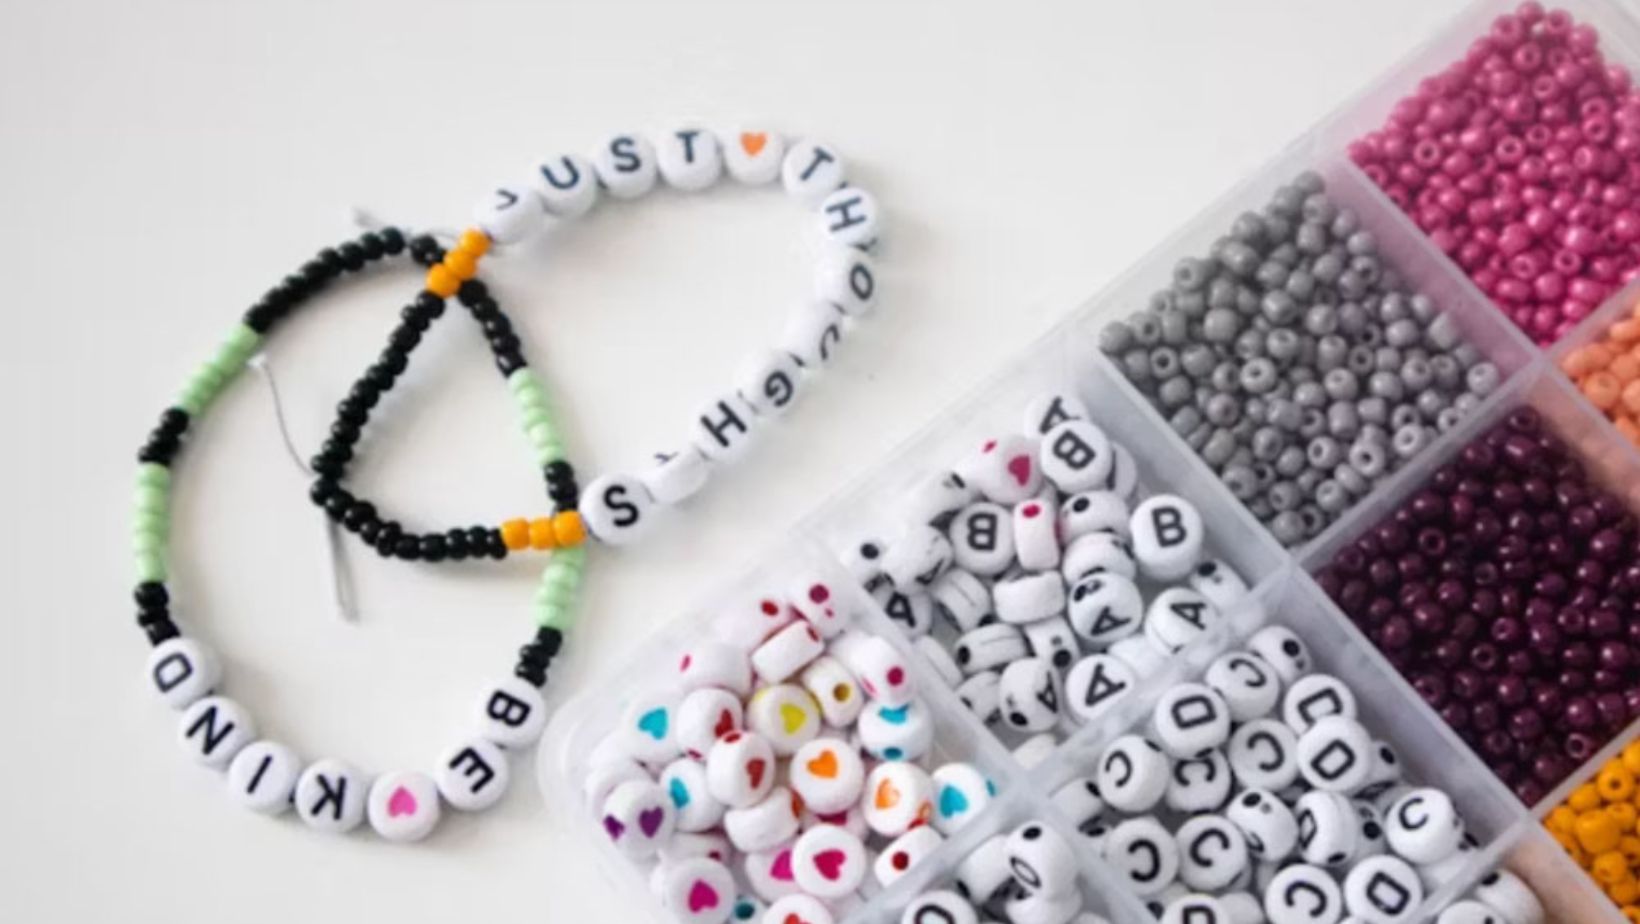
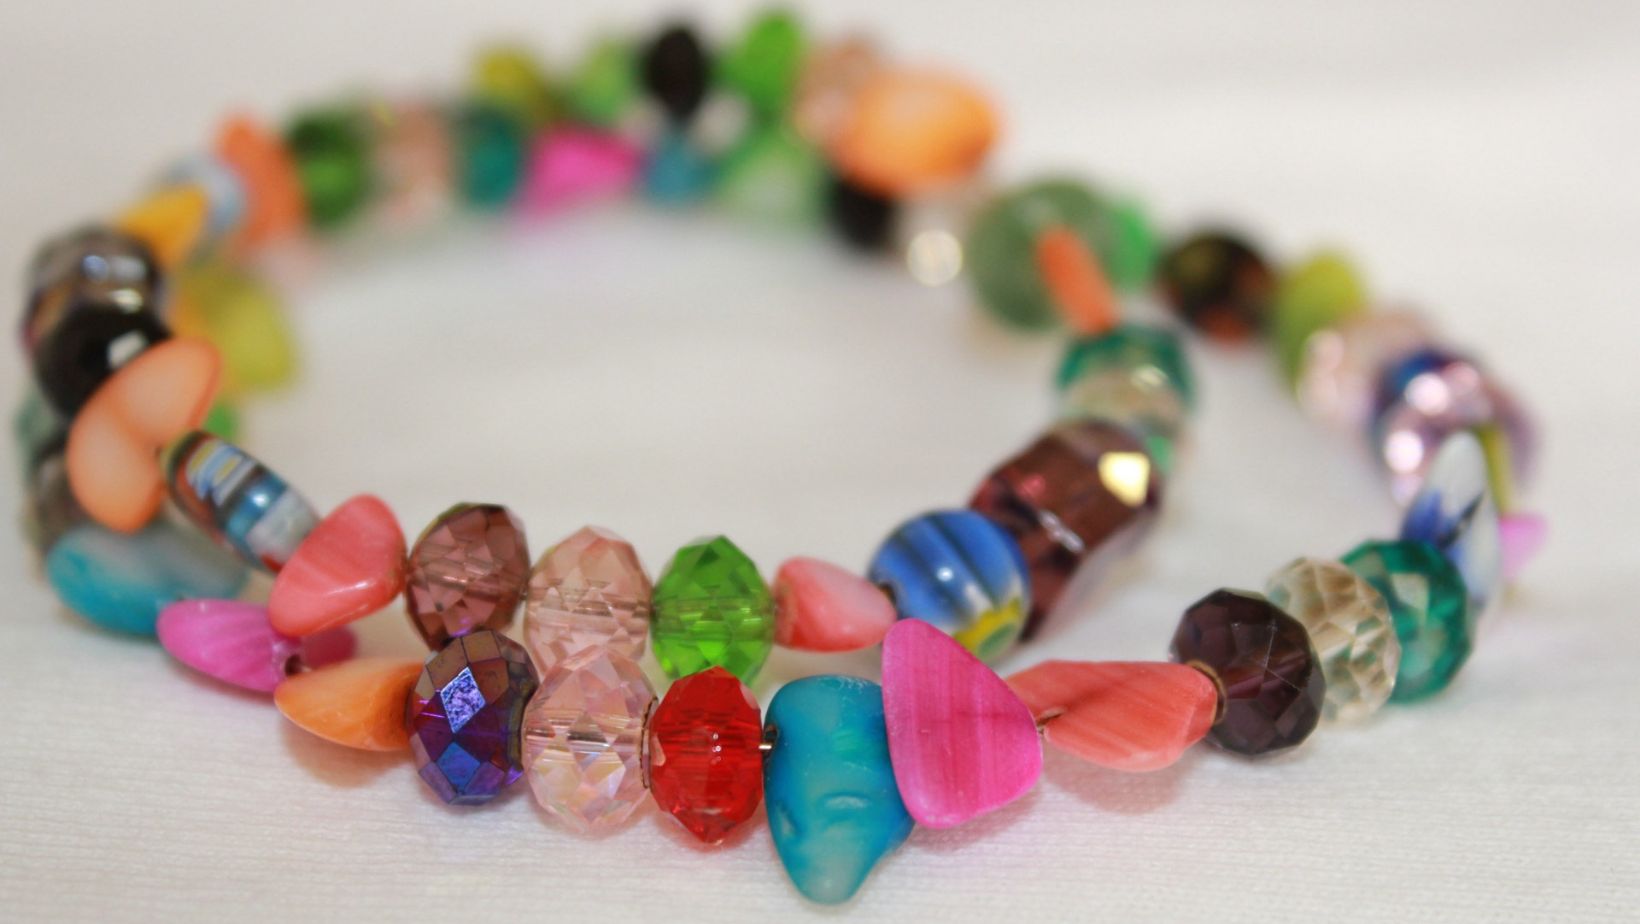
Are you tired of scouring stores for the perfect accessory to match your preppy style? Do you find yourself longing for unique jewelry that reflects your personality? If so, you’re not alone. Many individuals struggle to find accessories that resonate with their personal taste and style.
In this article, we will help you unlock your creative potential and craft your own preppy bead bracelets. Whether you’re a fashion enthusiast looking to add a personal touch to your wardrobe or a DIY lover searching for your next project, this comprehensive guide will equip you with all the skills. Let’s start making your unique preppy bead bracelets with us!
Essential Materials and Tools
To create your own preppy bracelet, you’ll need a few essential materials and tools. Here’s what you’ll need:
Materials:
- Beads: Choose beads that fit the preppy style, such as colorful or patterned beads in classic designs like stripes, plaids, or anchors. Look for materials like glass, acrylic, or wood.
- Spacer Beads: These can be smaller beads used to separate larger beads and add visual interest to the bracelet.
- Elastic Cord: Opt for a sturdy and stretchy elastic cord that is suitable for jewelry making. Make sure it’s durable enough to withstand everyday wear.
- Charms (optional): Charms like anchors, sailboats, or bows can enhance the preppy aesthetic of the bracelet.
- Jump Rings: These are small metal rings used to attach charms or other embellishments to the bracelet.
- Jewelry Glue: This can be used to secure knots or prevent them from unraveling.
Tools:
- Scissors: A pair of sharp scissors will be needed to cut the elastic cord.
- Bead Board or Tray: This is optional but can be helpful for organizing your beads and planning the design of your bracelet.
- Tape Measure or Ruler: Use this to measure the length of the bracelet to ensure it fits comfortably.
- Needle-nose Pliers: These can be useful for handling small jump rings or crimp beads.
- Lighter or Matches (optional): If you’re using an elastic cord, you can use a lighter or matches to carefully melt the ends of the cord to prevent fraying before adding beads.
Step-by-Step Guide to Making a Preppy Bead Bracelet
Once you have gathered all your materials and tools, you’re ready to create your preppy bead bracelet. Here’s a step-by-step guide:
Step 1: Measure and Cut the Elastic Cord
Using a tape measure or ruler, determine the length you want for your preppy bead bracelet. Add a few extra inches to account for the knots and the stretch of the elastic cord. Cut the elastic cord to your desired length using scissors.
Step 2: Plan Your Design
Lay out your beads on a bead board or tray to plan the design of your bracelet. Experiment with different arrangements until you’re satisfied with the look.
Step 3: String Beads onto Elastic Cord
Then you can string your beads onto the elastic cord. Take your time and make sure the beads are aligned properly. If you’re using spacer beads, add them between each larger bead to create spacing and visual interest.
Step 4: Secure the Ends
Check the length of your bracelet as you string the beads to ensure it fits comfortably around your wrist. You can adjust the length by adding or removing beads as needed. After completing the stringing of all the beads, secure them in place by tying a tight knot at both ends of the elastic cord.
Step 5: Add Charms (Optional)
If you’ve chosen to include charms in your design, use needle-nose pliers to attach them to the jump rings. Then, attach the jump rings to the bracelet by threading them onto the elastic cord before tying the final knots.
Step 6: Final Check
Trim any excess elastic cord close to the knots using scissors. Give your bracelet a final inspection to ensure all the beads are securely in place and the knots are tight. Once you’re satisfied, you are able to wear or gift your preppy bead bracelet!
With these simple steps, you can create a stylish preppy bead bracelet that complements your personal style. Experiment with different bead colors, patterns, and charms to make each bracelet unique!
Conclusion
Crafting your own preppy bead bracelet brings not just creativity but also a sense of fulfillment. By following the step-by-step guide provided in this article, it is easy to craft a unique accessory that perfectly complements your style. With essential materials and tools at hand, along with a dash of imagination, you’ll find joy in the process of stringing beads, arranging charms, and tying knots to bring your vision to life. So, why wait? Dive into the world of DIY jewelry-making and let your personality shine through your handmade creations. Happy crafting!


